


Before I get to the pictures and guts of this project, I'd like to talk about it a bit first. I know the Nintendo Entertainment System case mod has been executed many, many times on the internet. I am fully aware that I am not the first. However, I am trying to do it better. I want this to be a mostly stealth mod. When looking at it, I don't want it to be immediately apparent that it's not what it seems. That's why I'm not cutting a big I/O panel hole in the back of the case. I'm also not cutting away holes for anything else. The outside of the case will remain more or less unchanged.
I will go through this step-by-step, in case anybody wants to follow in my footsteps. I missed out on some photo opportunities near the beginning of this, but I'm hoping words can fill in the gaps.
So, let's get started!

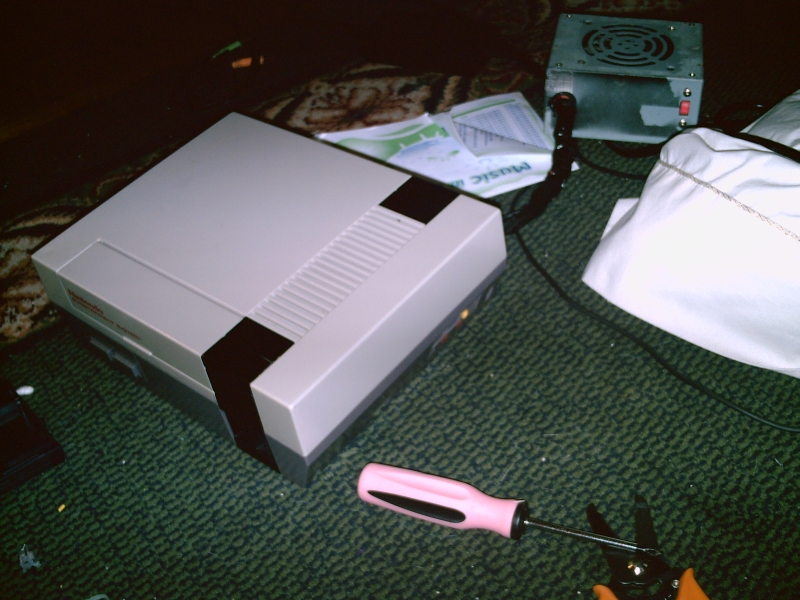
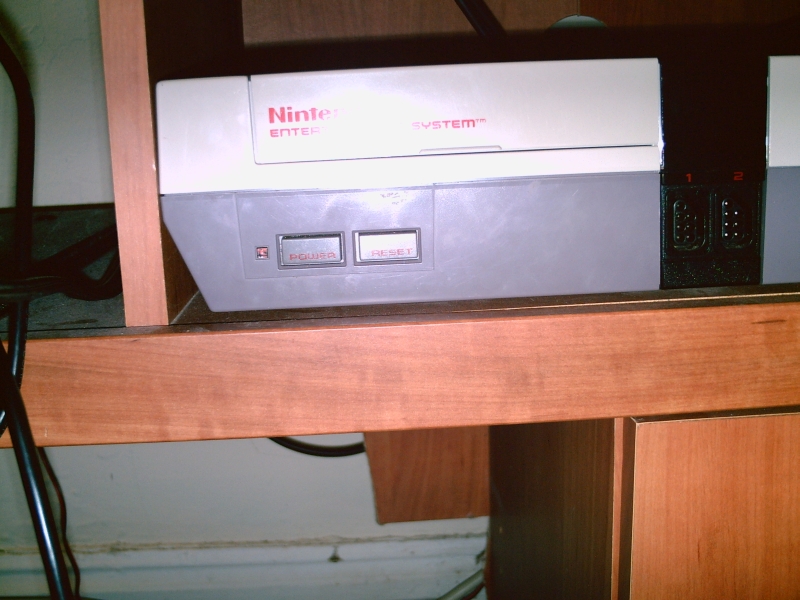
Everyone knows what a Nintendo Entertainment System looks like, unless you lived in a cave for the last 20 years. It's one of those big '80s things. My older brother got a Nintendo when I was very, very little. I believe I saw the year "1985" on the console. I don't think that's when we got it, because that would have made my brother 1 year old at the time, and I don't think my parents would have liked him drooling on it. But anyway, it's been around for a while. It disappeared around the year 2000. I had no idea what happened to it, so I forgot about it. Well, in May or June of 2009, my father discovered an unmarked cardboard box in the garage where it had been hiding all those years, along with a small cache of games, a NES blaster, and a couple of controllers.
We hooked it up in my parents' living room to their HDTV just for laughs and discovered... that it didn't work very well. We diddled around with Mario 3 and Paperboy for a little bit, and I took it home to my girlfriend's and my apartment (How the hell do you say that properly anyway?). There it sat for a little while longer, until I got the urge to mess with it, as I do with most electronic things eventually. I decided to build a Home Theater PC for the living room, to replace the HTPC that had moved to our bedroom.
And so began demolition. I borrowed a Craftsman Dremel-esque cutting tool from my pop, and pulled out the screwdrivers and other assorted wrecking tools. Here's where the captioned pictures come in.
I started by opening the case, unscrewing everything inside, and removing it. I stole this picture from google images, please don't hate me. This is what was inside:

As you may have noticed, there's a big stupid ridge in the bottom of the NES case, shaped like an upside-down T:

That had to go. I cut that along the bottom of the ridge at about a 45 degree angle. I then took the T channel which I had cut out, cut off the edges, and used it to seal up the bottom again. I glued it together with plain ol' cyanoacrylate model glue, which I picked up in a 12-pack at Home Depot for about $5. Woo-hoo!
This is a view of the plugged bottom, and some other stuff we'll get to later:

The underside of the plugged bottom:

Around the same time this was going on, I removed most of the original component mounting standoffs. I kept 4 of the screw-in columns on the bottom of the case to close the case. But as for the little ones that held the NES motherboard in, DO NOT THROW THEM AWAY! They will serve a purpose. A little secret, it's easier to snap off the standoffs than to cut them.
And, as everyone who's made one of these seems to do, I soldered my own leads to the "POWER" and "RESET" buttons, and the little LED in front. Since a computer needs a momentary button press to turn on, and the Nintendo had a click on/click off button, I removed the plastic and metal bits on top of it, which turned it into a momentary switch.
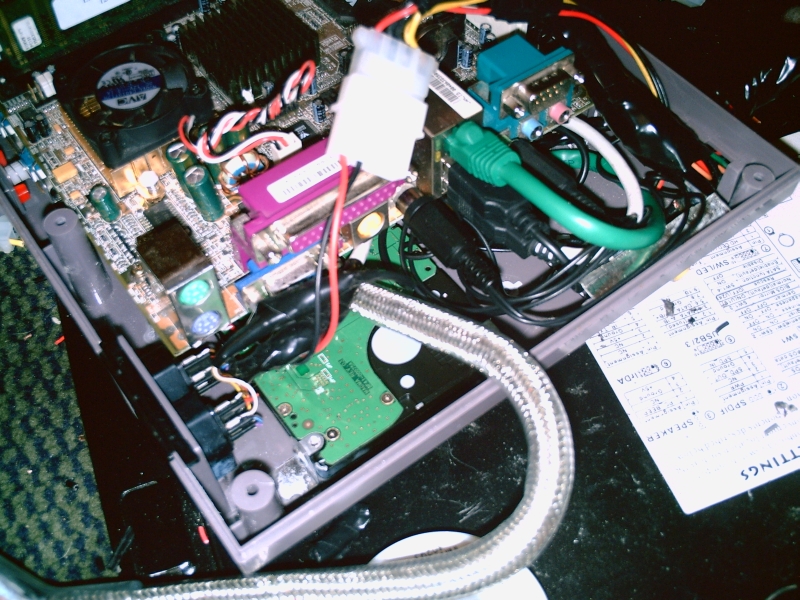
After that, I needed to figure out a way to make a mouse and keyboard look cool with this thing, so I took the cord from two NES controllers, since they use 5 conductors out of the possible 7 or 8 that are in the actual controller port. Five is perfect for USB! I bought a USB mouse for $10 from a computer surplus store, and found an old keyboard in my parents' garage (That place is proving very useful). I connected the controller cables inside the mouse and keyboard, then used the same color combinations to connect the port back to USB inside the case. This can be seen here:


Next, I wanted to figure out how to add networking to the case. With 2 of 2 motherboard USB ports taken up, wireless was thrown out. Since it turned out that the T channel on the bottom of the case was a perfect size to hold an ethernet port, I stuck one in there. I cut off the end to an old network card and soldered my own leads to the port, and connected that to half of a 3 foot cat5 cable, careful not to mix up my wires. I tested it, and it works.


Then I had to mount the motherboard. I took 3 of the screws that held the original NES motherboard in place, cut down 3 of the original mounts to 1" tall, screwed them to the motherboard, and glued them in place on the bottom of the case. Never throw away useful matching plastic.
I think I might be getting out of chronological order now, but I had some holes in the sides of the case from where I cut out the channel, so I harvested some plastic from a crappy old game called Stealth ATF

and plugged the holes.

Now it's time for the audio and video. There were already labeled "AUDIO" and "VIDEO" jacks on the side, so I harvested part of the original I/O system - just 1 wall of a big metal box that also took care of the original power system. I took that, removed the audio jack. Since I wanted stereo, I added my own 1/8" stereo audio jack, then added leads to that and the video jack. This can be seen in the pictures above and below.

Now all the I/O has been taken care of. Here's some more shots:


During all this work, I didn't stop once to try on the top of the case. After putting it on, I discovered a small clearance problem on each side of the cartridge door.


So I went ahead and took care of that, removing a bit of plastic on both sides, and along the middle.


This is what it looks like inside the top of the case:

And these are a few shots of each side, all together:


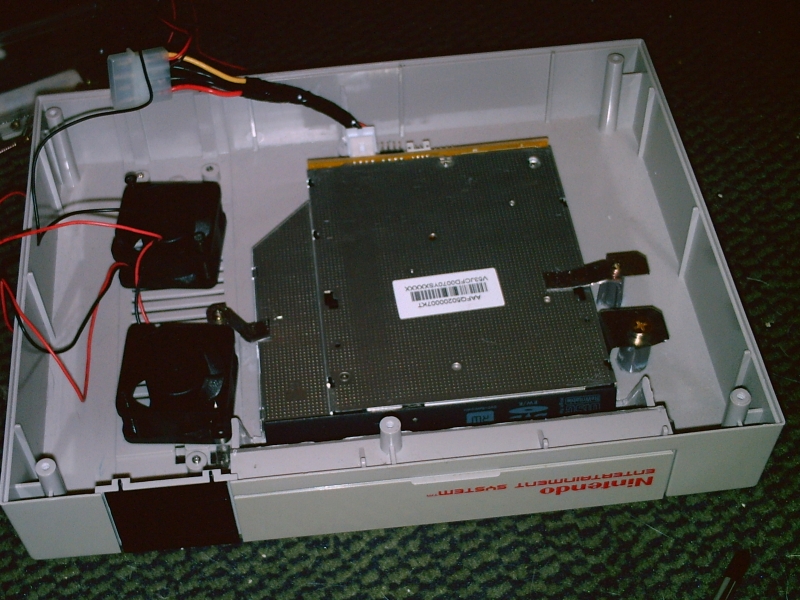
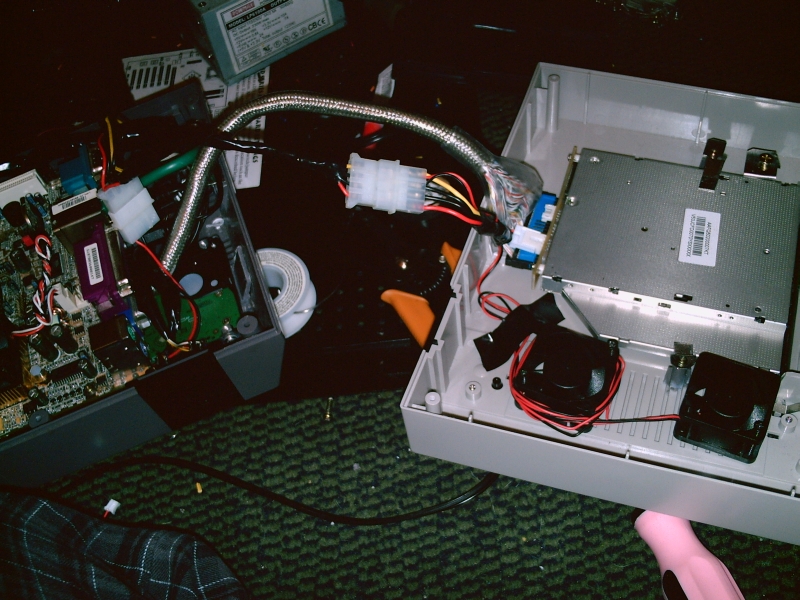
I mounted a fan under the motherboard, since I heard that everyone who's built one of these had cooling issues. I'll be adding more when they arrive.


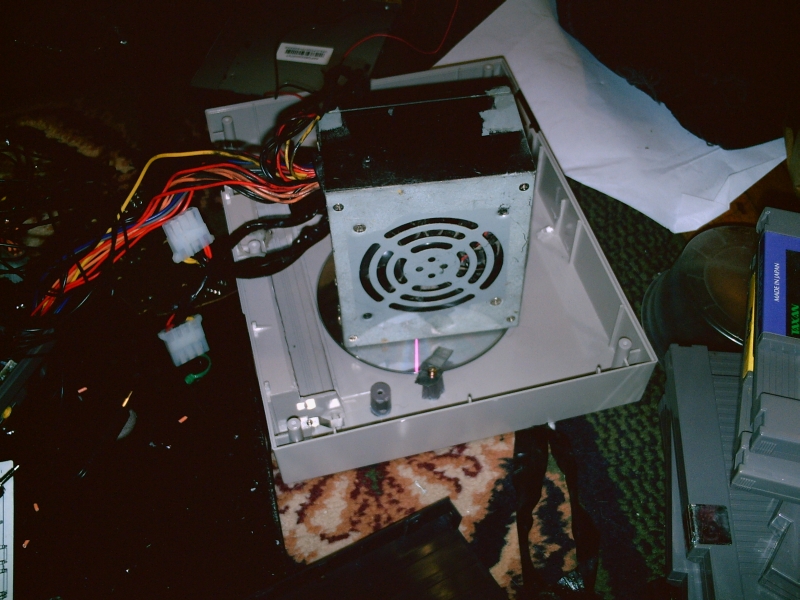
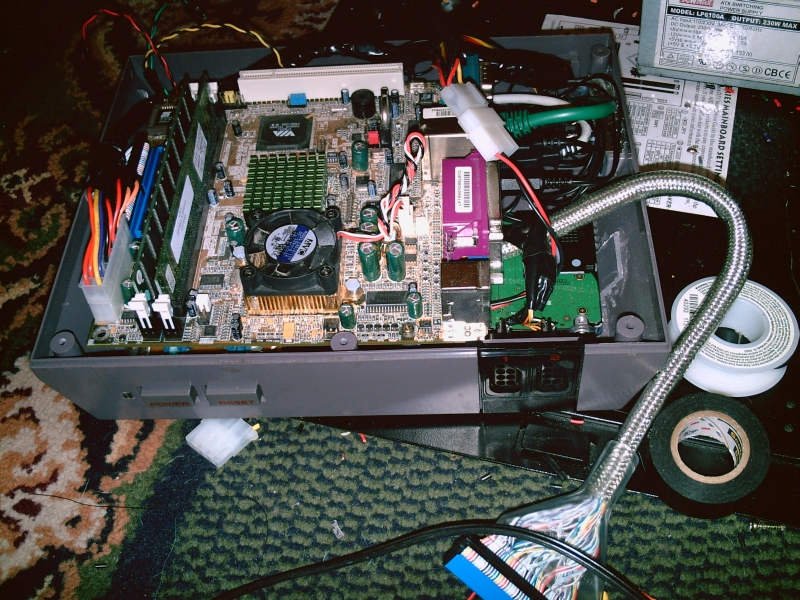
Now it's time to solve the power problem. This case is way too small for a normal power supply. I'm way too broke to afford a picopsu. Therefore, I am relocating the power supply to outside of the case for now. In order to reach the motherboard hookup, I needed to extend the wiring on the power supply. In order to avoid screwing up the wiring, I tried splicing the wires one at a time.


But then I realized I made an oops. A tactical error, as my dad would say. I forgot to put the wires through the hole in the back of the case before I resoldered them. After looking at it for about 5 minutes, I decided that it would be cruel of the power supply manufacturers to have the same colors at different potentials, so I did this:

And I stuffed everything through one of the holes in the back of the case, and started soldering on my extensions.


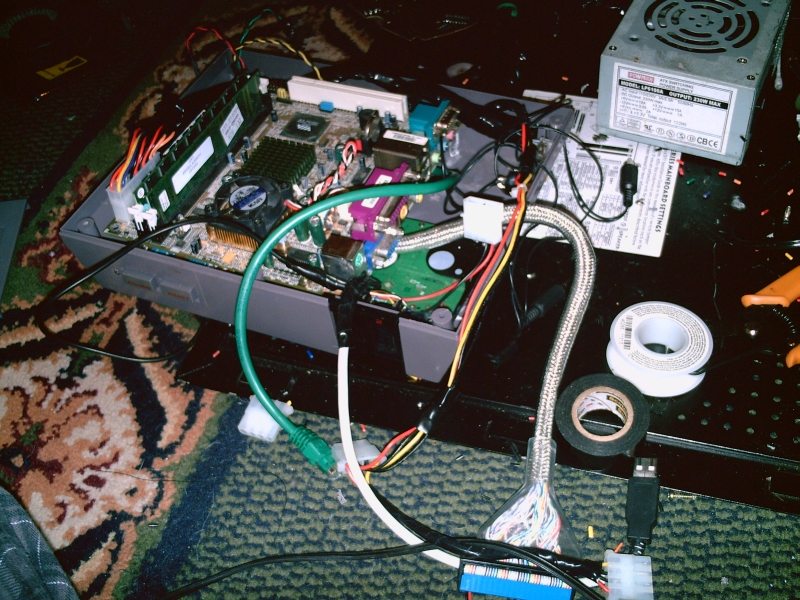
It's a big mess right now, but I'll wrap the spaghetti wiring, and I was thinking about stashing the ugly metal box in these, since I discovered they're worth practically nothing:

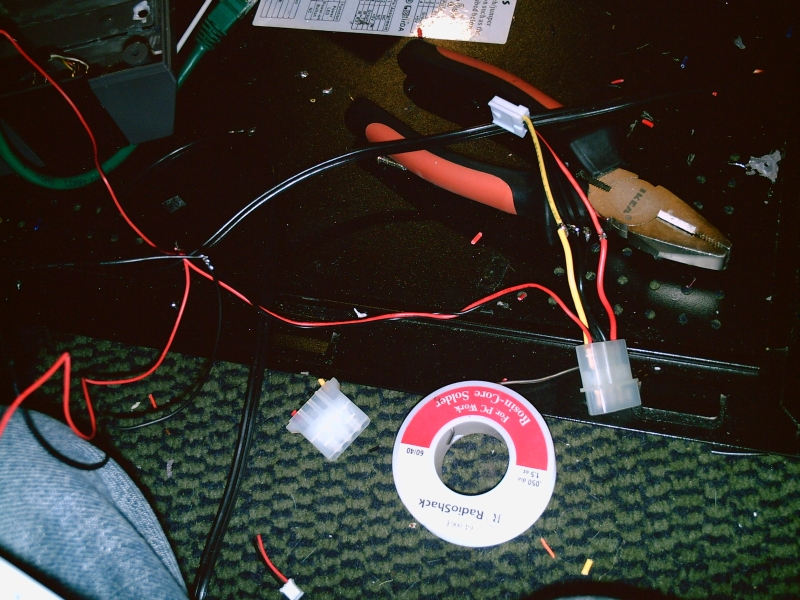
I got my parts! But first, a picture of my wiring mess, all insulated up:

And the mounting of the new slightly used refurbished DVD+/-RW drive:


I did not realize at the time that my new DVDRW drive was in a Dell caddy, for mounting in a Dell laptop. I was afraid that I purchased a nonstandard DVD drive and I wouldn't be able to use my 50-pin to desktop ATA converter. Well, I took off the caddy and discovered a smaller, sleeker, usable DVD drive underneath. Of course, I had to mount it a bit differently, since the DVD drive is a little thinner. I used 3 old CDs as spacers between the drive and the top of the case, which I thought was pretty poetic. Since I actually had screw points on the naked drive, I attatched a metal tab to the side for a stronger connection. Also, you can see my cute little exhaust fan.

I replaced the bigger exhaust fan in the bottom of the case with a more space-conserving 1.5" fan.

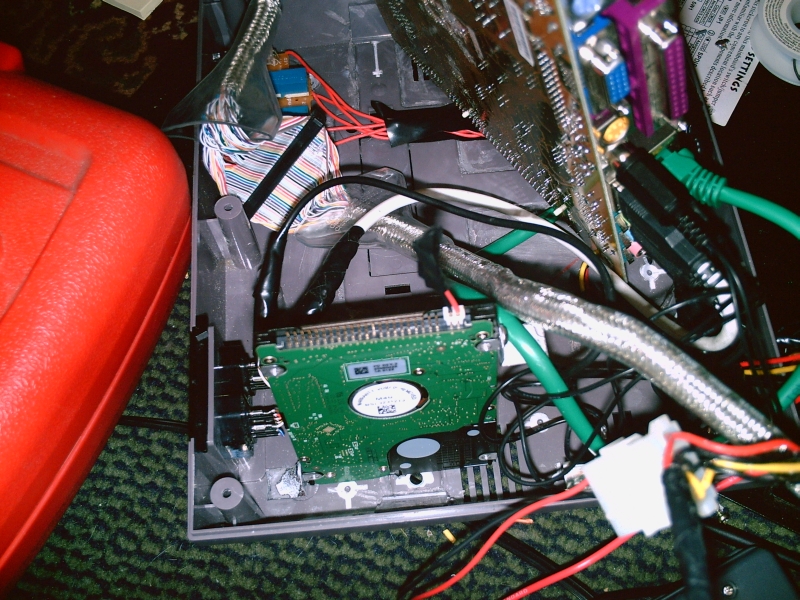
There's a few mounting options for the hard drive, one of which is under the motherboard. The other is just under the DVD drive.

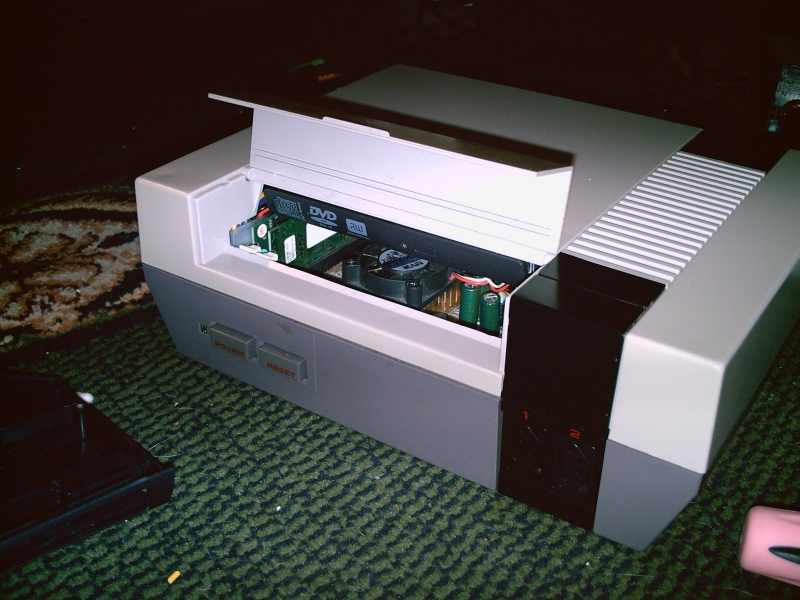
And this is what the DVD drive looks like through the NES cartridge door.

So it's more or less done! That is, until I get a new power supply that'll fit in the case. I didn't expect it to come together this quickly. Here's the pictures:
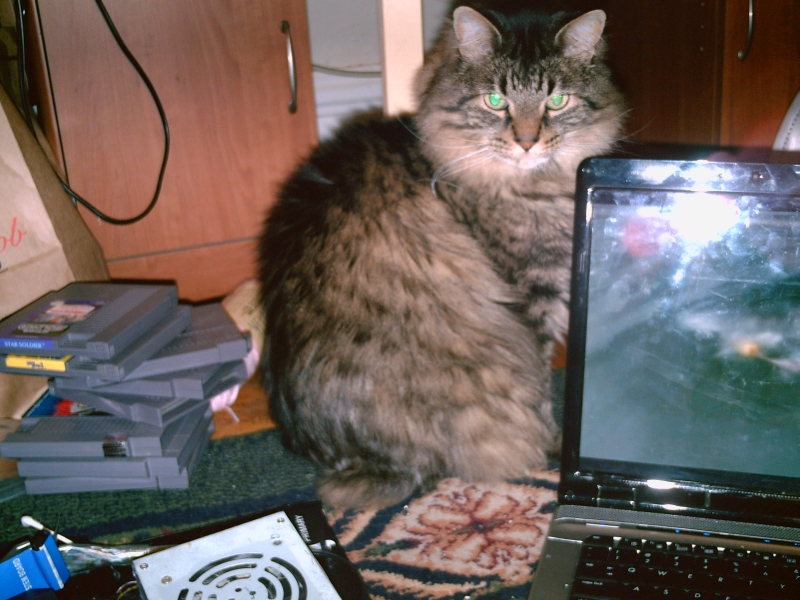
I was visited by a furry one while working this time.
I had this old squirrel cage PCI slot fan laying around, and I needed a donor molex connector to power my DVD drive and fans, so I stole the cord.
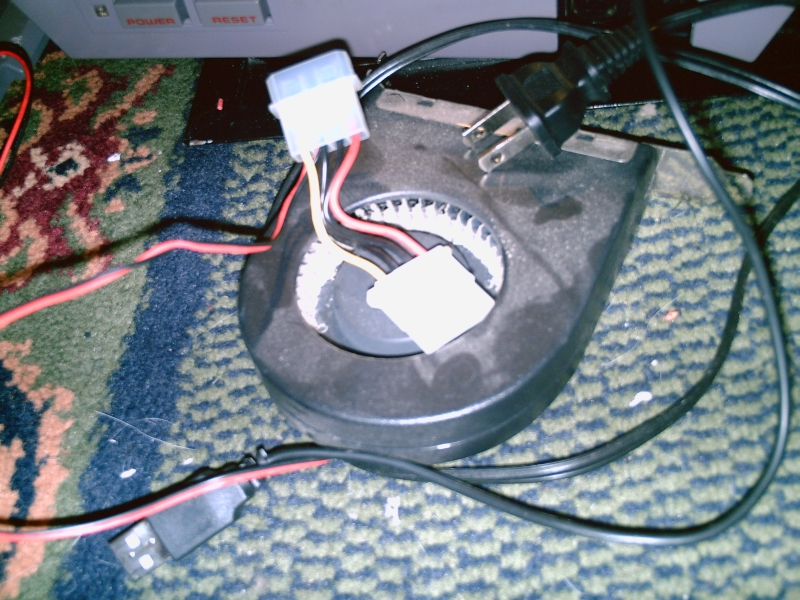
I soldered a mini-molex onto the power cord, because that's what the DVD drive needed, and my power supply didn't have any on it. I harvested the connector from my main desktop. Snip-snip.
During my final assembly, I noticed that the hard drive adapter didn't have the nice reference missing pin. That would've been fine, had my hard drive cable not had that particular pin location filled in.
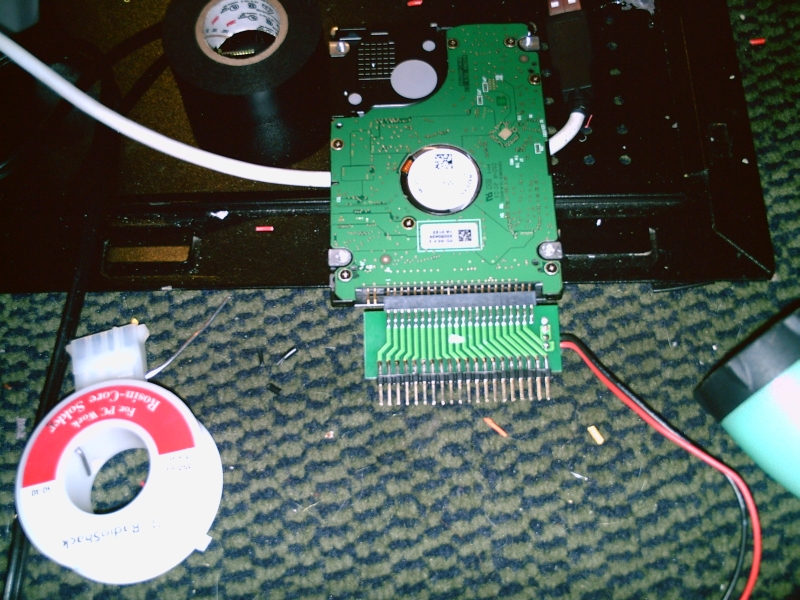
So I traced out from the missing pin on the hard drive to the pin on the adapter that wasn't necessary.
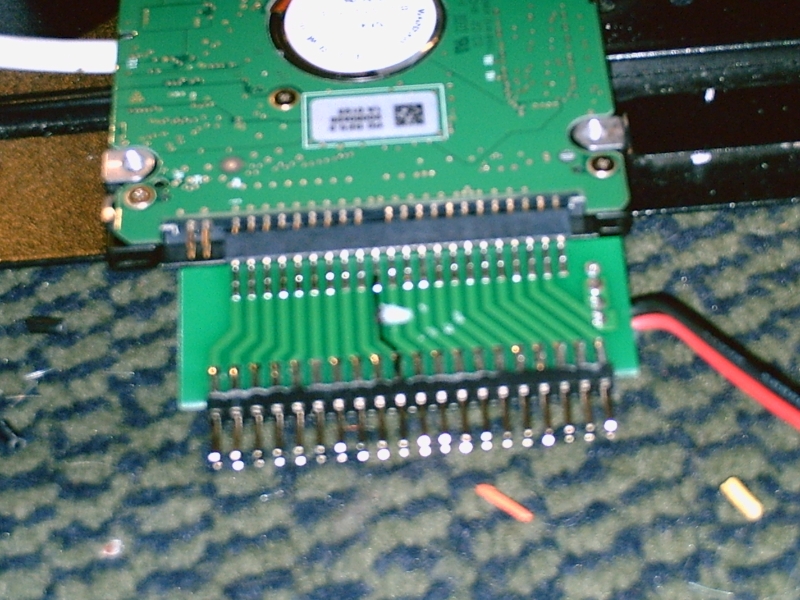
And I bent that pin up.
When installing the motherboard with the IDE cable, I discovered that (of course) the cable was in the exact same spot as the fan I'd placed under the motherboard, so I had to relocate the fan.
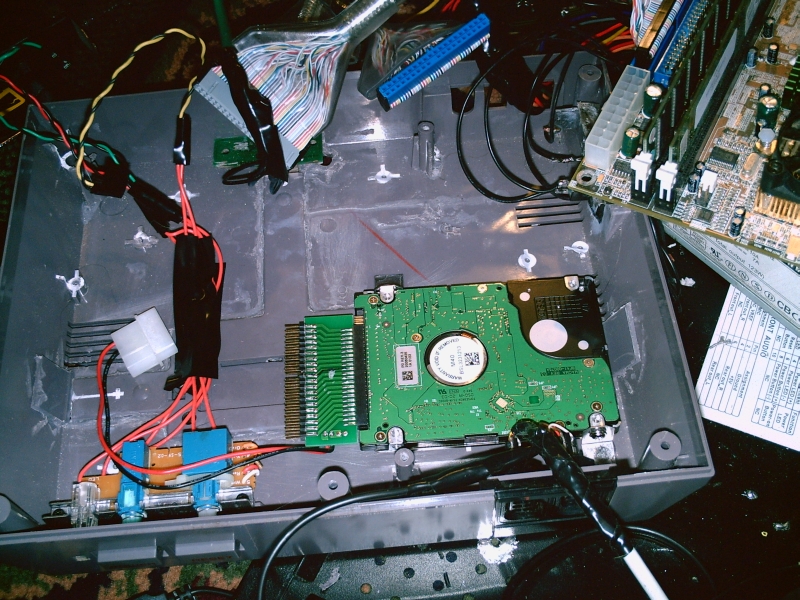
Then I mounted the hard drive where it fit, which was partly under the motherboard. I used some bent aluminum with screw holes to mount to the drive, then glued the aluminum to the bottom of the case.

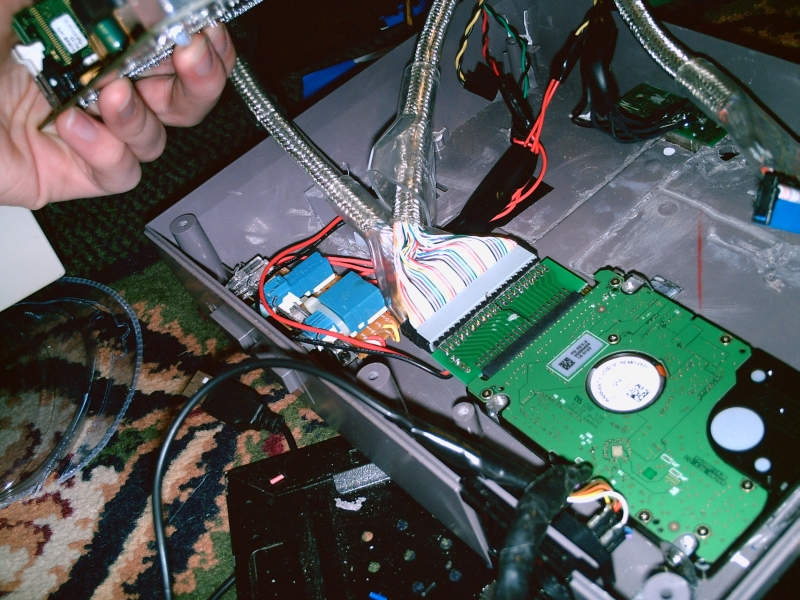
I didn't have much clearance between the hard drive cable and the front button board.
I glued my DVD drive 'spacer' to the top of the case. It's 3 old CDs. I used the power supply as a weight.
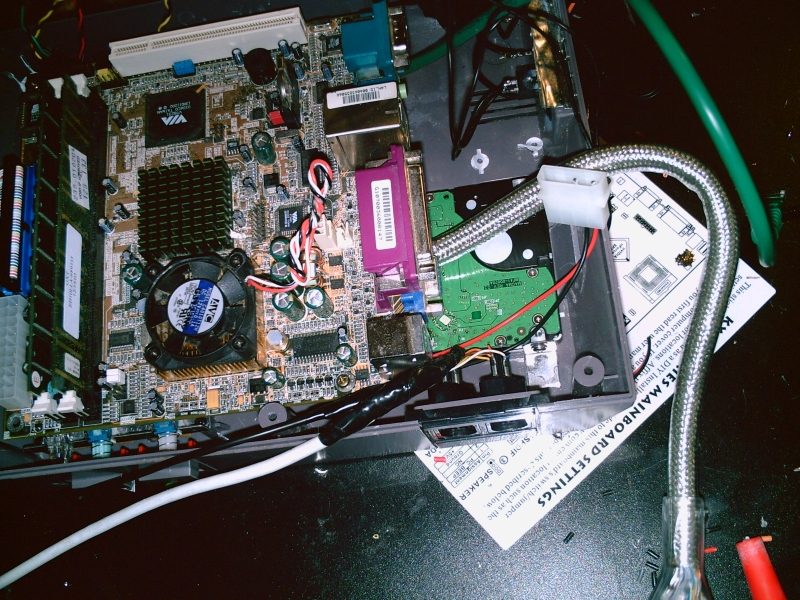
Then I started putting it all together. The motherboard over the hard drive, here.
The top of the case assembled.
Motherboard power cable attached.
All my little cable extenders / adapters plugged in.
A close up of the hard drive cable. I was afraid it might be pressing too hard on the hard drive.
Plugging the two case halves together.
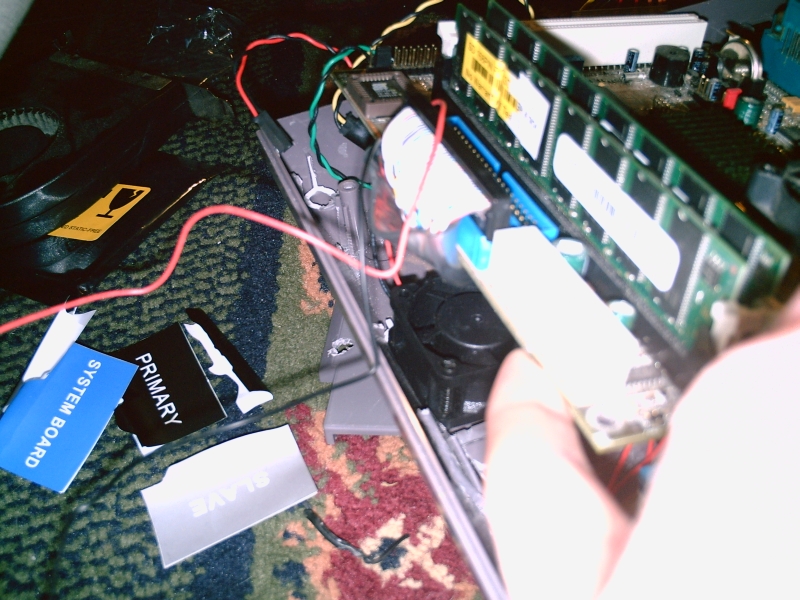
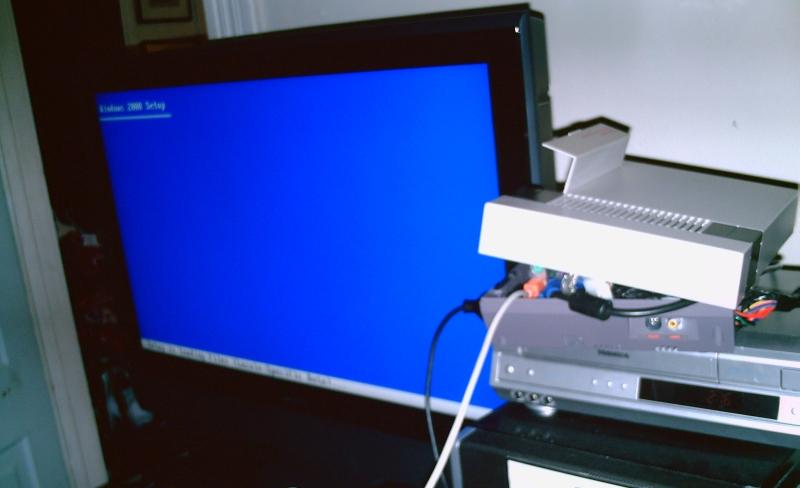
I got it all put together, and screwed together, then I remembered I'd need a VGA connection and ps2 keyboard to install things. So I had to take the top off to plug it into my bedroom TV. BIOS popped up, no problem, but it didn't recognize the hard drive. I realized I never set the master/slave relation between the DVD drive and hard drive, so they were both fighting to be master. I had to take the whole damn thing back apart to get at the hard drive. I didn't have a tiny jumper for the hard drive, but thankfully I had the 2-pin connectors left over from my little fans, so I fashioned one out of that.
Installing Windows.
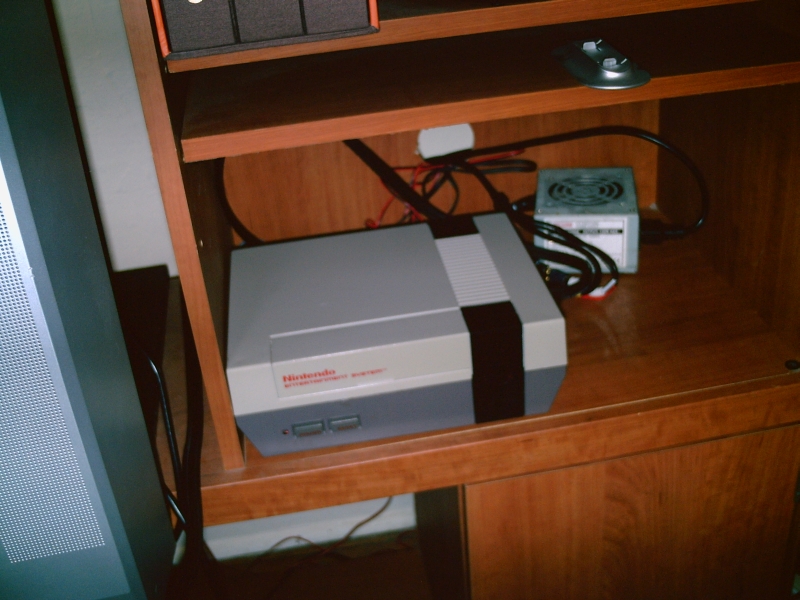
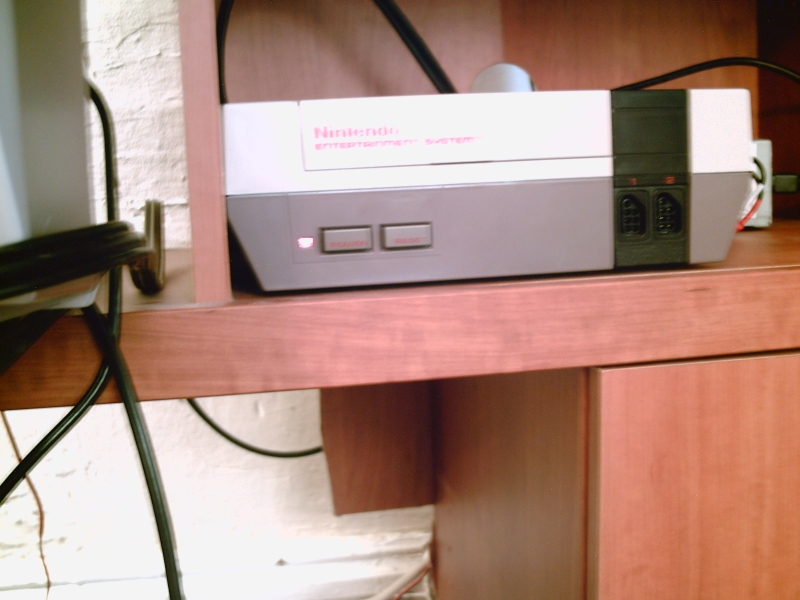
And now that all the drivers are installed, I put it all together.
I'll probably put something in front of the power supply on the shelf for now.
Oh, and a bit of a funny story - while I was assembling, I had to connect the front panel stuff to the motherboard. With the motherboard screwed in, I couldn't tell which wire lead went to which button or LED, and I didn't have the manual for the motherboard anymore, nor could I find it online, so I had to guess where each lead went. Once I found the power button, I turned it on to figure out where the LED would go. I found 2 pins with a 3.5v difference across them, but that turned out to be the reset switch. Took me a little while to get it all sorted out, but it works now.
Thanks for looking.